thankQ Help
If your eDonations web page has options to allow donors to give regularly, then additional fields will be completed on the Web Payments form for those donors that decide to give regularly.

1.On the Web Payment form, click on the Accept button.
2.If you have not verified the address click Yes to message
 |
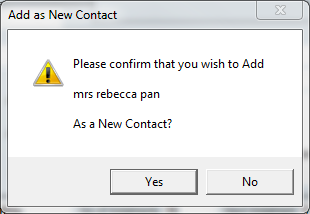
3.If the contact is NOT in thankQ (or if you have not checked for duplicates), the Add as New Contact dialog box will appear. If you have NOT YET PERFORMED A DUPLICATE CHECK, you should click NO and follow the steps in the Checking for Duplicates section.
4.If you are certain that the contact is not in thankQ, click Yes.
 |
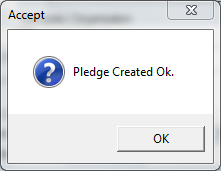
5.The following dialog box will appear to confirm that the Pledge was created. Click OK.
 |
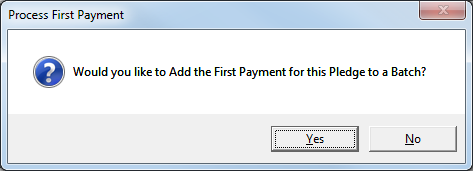
6.You will then be prompted to add the first payment to a batch. Click Yes.
| Note: If you do not have a batch in Working you need to create this before accepting the payment. |
 |
7.Will be then be prompted to select a Batch to add the payment to. Double click on the relevant batch.
 |
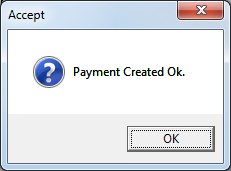
8.The payment will be created and a confirmation message box will appear when this has been completed. Click Ok.
 |
9.The payment will now appear as Accepted. The Batch / Pledge ID and the Auto ID fields (the payment Item/Receipt number) will be displayed as hyperlinks.
 |
10.A new pledge is created in the Pledges / Regular / Committed Giving Module. Use will need to search to locate this pledge. The easiest way is to enter the name of the contact in the Quick field.
 |
| You will then be able to view the pledge record for this donor. |
 |