thankQ Help
The first step to creating an eMailer mailing is to create a Mailing in Mail Manager loading the contacts who will receive the mailing.
1.Click on the Mail Manager icon under the Mailing Module

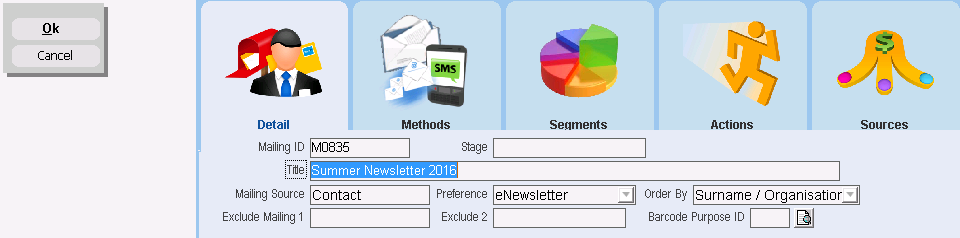
2.Click New to create a New Mailing

3.Enter a Title for the mailing. This should be the name of your email campaign or newsletter.
The Title will appear on the home page of eMailer.
4.Select the appropriate Preference.
Any unsubscribe requests will be recorded against this Mailing Preference, so the correct preference should be selected.
5.Click OK.
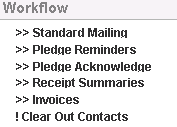
6.Click Standard Mailing from the Workflow options
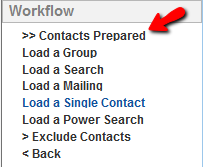
7.Load groups, saved searches, single contacts or a previous mailing using the options under Workflow. See the Essentials Manual for full details.

8.Click on Contacts Prepared
9.Select any further options if necessary and click Merge Options
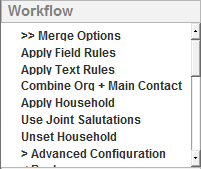
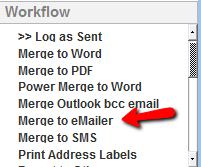
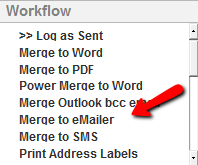
10.Click on Merge to eMailer
11.Click OK to message prompting you to complete three fields.
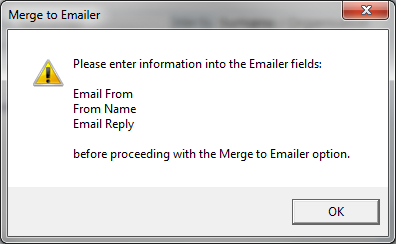
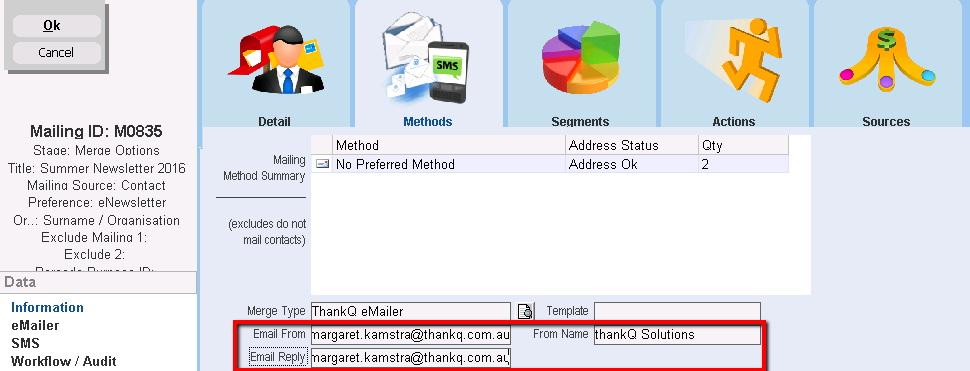
12.Enter the senders email address in the Email From field
|
You MUST enter a valid email address in the Email From field. An invalid email address will cause the Merge to eMailer to fail. |

13.Enter the name recipients will see in the From Name field. This could be the name of a person or a generic name like Newsletter or Info.
14.Enter the email address recipient replies will be sent to in the Email Reply field. If recipients choose to reply to your email, it will be sent to the email address entered in the Email Reply field
15.Click OK.
16.Click on Merge to eMailer under Workflow
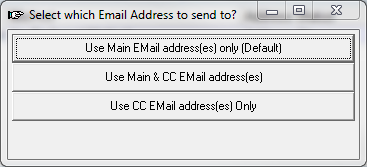
17.Select to include Main email field only, CC field only or both.
18.Select Create New Campaign
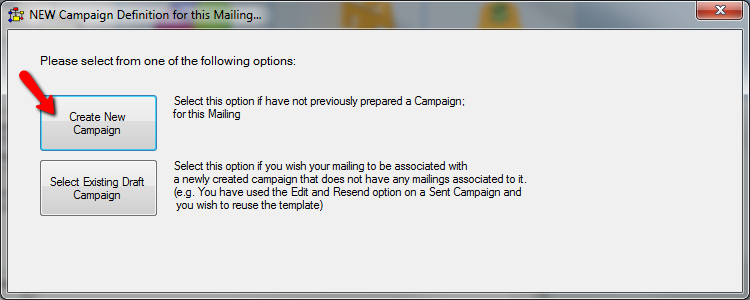
The information completed in Mail Manager will be uploaded to the web eMailer application. A thankQ eMailer dialog box will appear for a few seconds whilst the upload is taking place.
19.Enter your thankQ eMailer username and password in the relevant fields and click Login.