thankQ Help
ThankQ comes with a default data import template. The template allows you to choose the column headings from the available fields in the database via a drop down menu. In this way you are able to customise the template to a format that makes it easy to import the data.
Apart from the standard contact details, you are also able to import Payment Details, Profiles and associated information. Once you have created a new import template, configured with the column headings that you need, it can be saved for future use.
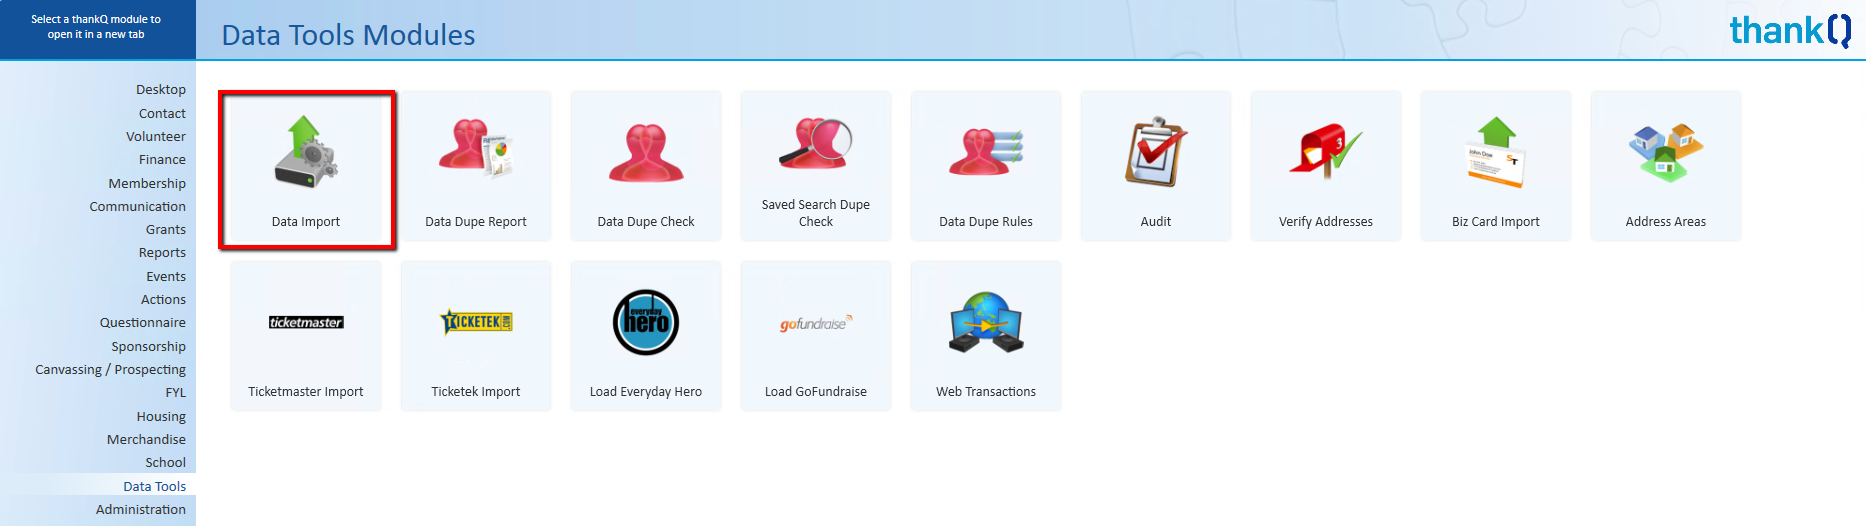
1.Click Data Import under Data Tools on the Main thankQ menu
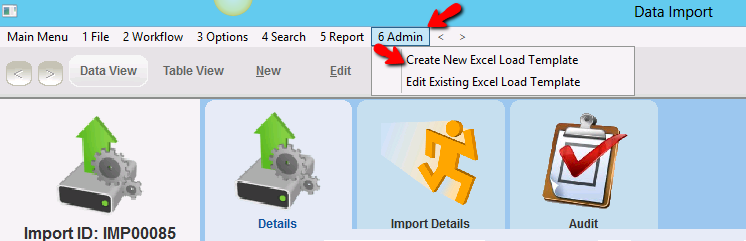
2.Select Create New Excel Load Template from the 5 Admin Menu on the Data Import form
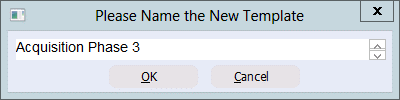
3.Enter a name for your new template. Click OK.
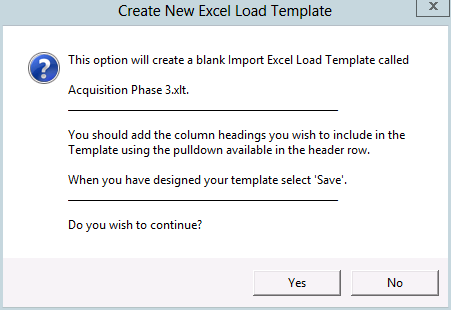
4.Click Yes
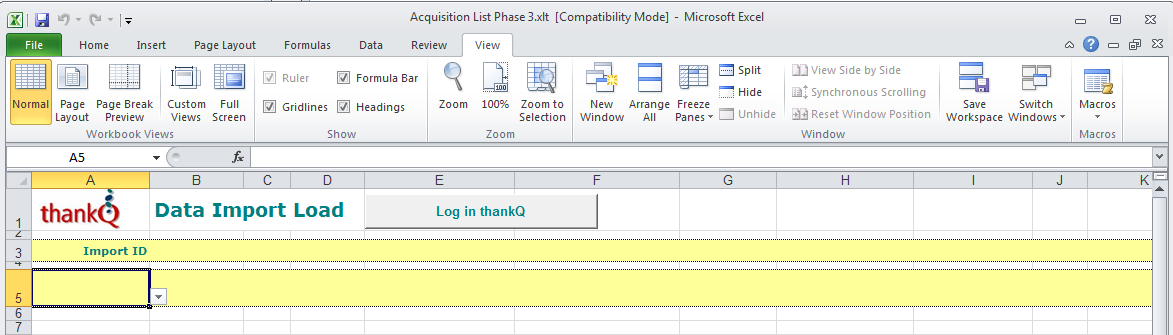
A blank Data Import Load template will open.
The thankQ Data Import form is designed to be flexible. When your Data Import Template opens you may want to create a layout that matches another spreadsheet that contains the data you want to import. You’ll be able to achieve this by selecting fields in the order that you require.
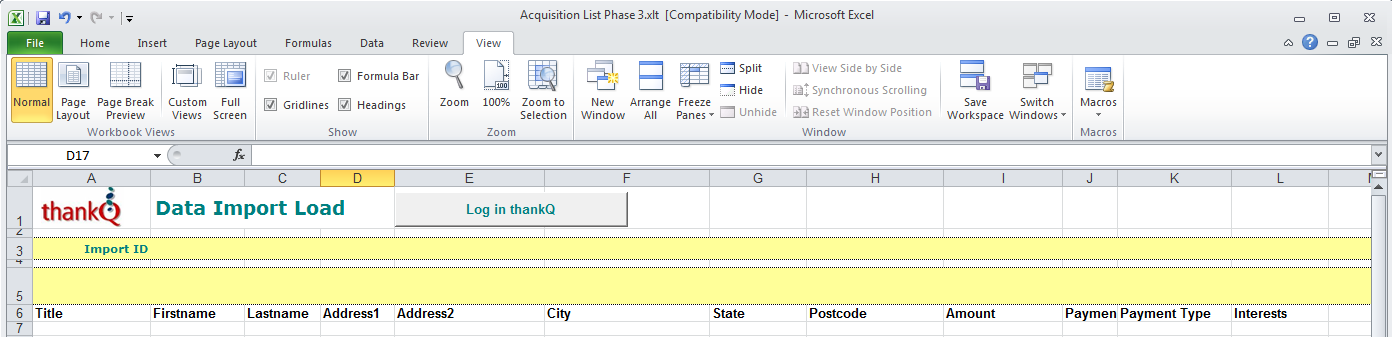
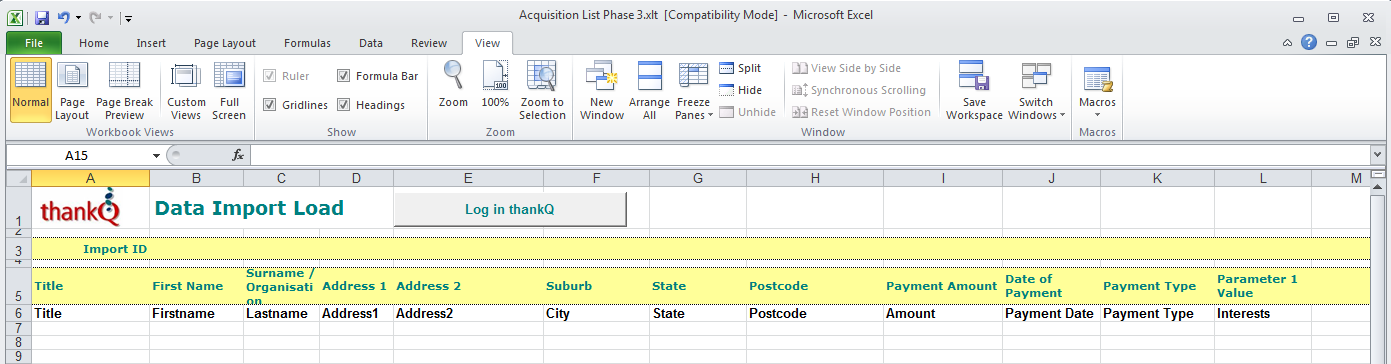
5.If the spreadsheet contains a heading row, copy and paste this into row 6.
|
Copy and Paste the headings from your spreadsheet into Row 6 of the template. You can then match these headings with the thankQ fields Remember to delete the headings in row 6 when you’ve finished matching them with the thankQ fields. |

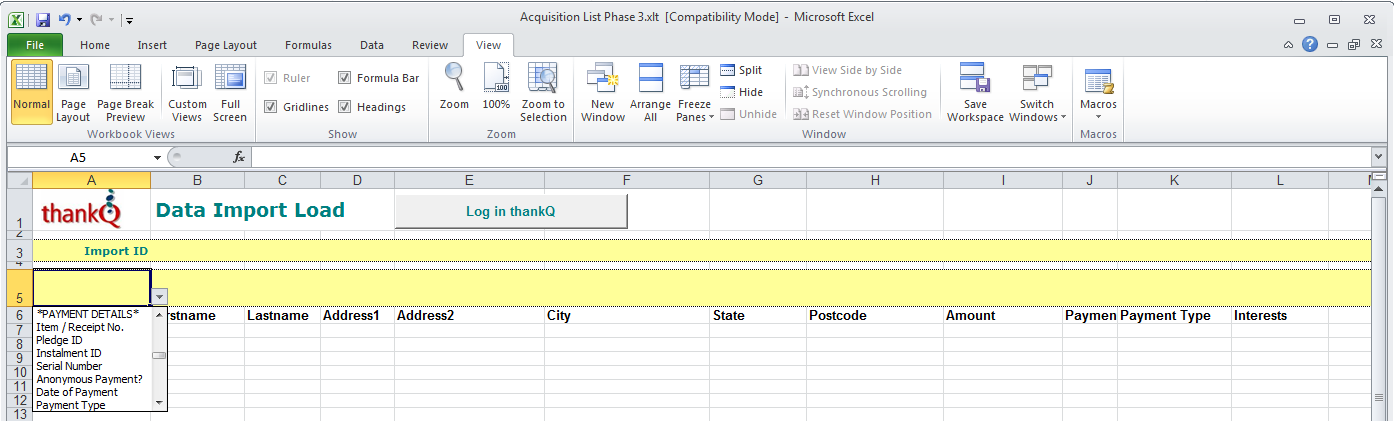
6.To select your required fields, click on cell A5 and you will notice that a drop arrow appears.
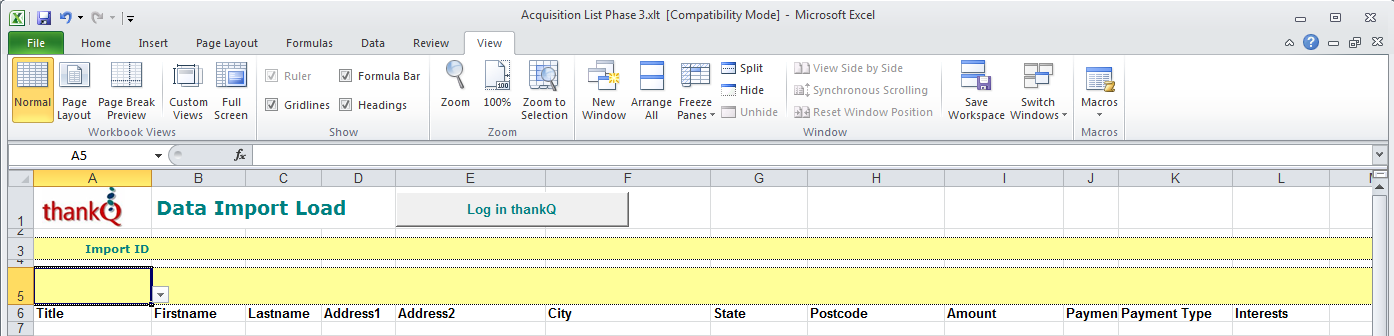
7.Click on the drop arrow to display a list of the available fields.
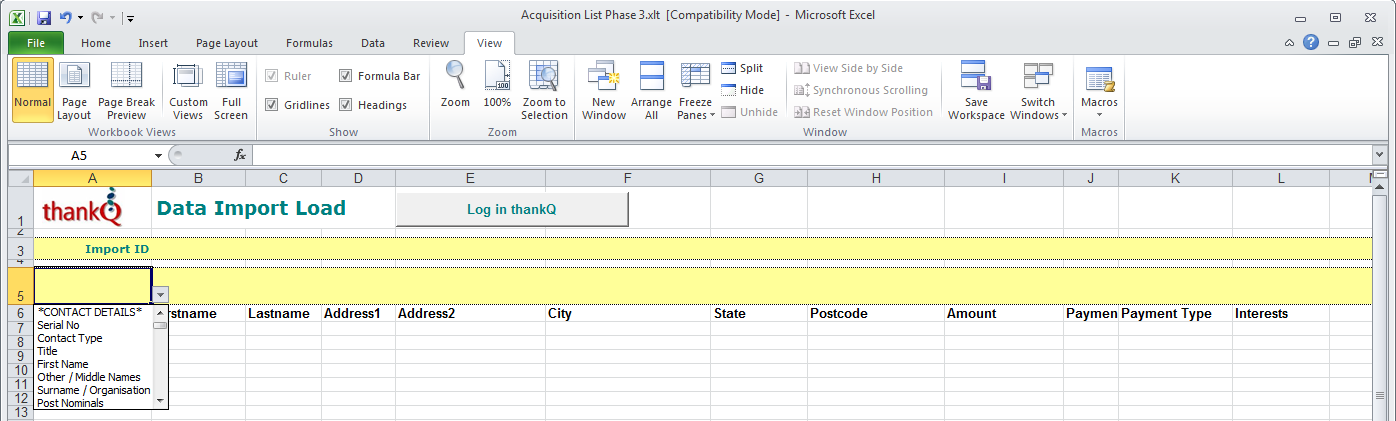
8.Click on the drop arrow and notice that the fields in the list are grouped in accordance with the type of data that you are wanting to import. Eg *PAYMENT DETAILS*
9.Select the relevant fields to include on the template, matching these with the headings from your spreadsheet.
There are a few specific points to be aware of and these are as follows.
•If you have exported the data from thankQ and are re-importing, ensure that you include the contact Serial Number. This will ensure the changed data in the spreadsheet is mapped to the correct existing contact.
•If you are importing new data into thankQ, then leave the Serial Number field blank (if it is included on your template). ThankQ will run a duplication check on these contacts and generate a serial number for those contacts that are not in thankQ.
•When imported into thankQ, the data will appear exactly as you have entered it into the spreadsheet. Take care when entering data into fields that may require capitals, e.g. Suburb, or fields that require special format such as telephone number.
•When importing data that needs to be set up in Lookup Values, such as Profiles or Do Not Mail Reasons, the values need to be in Lookup Values before the import takes place.